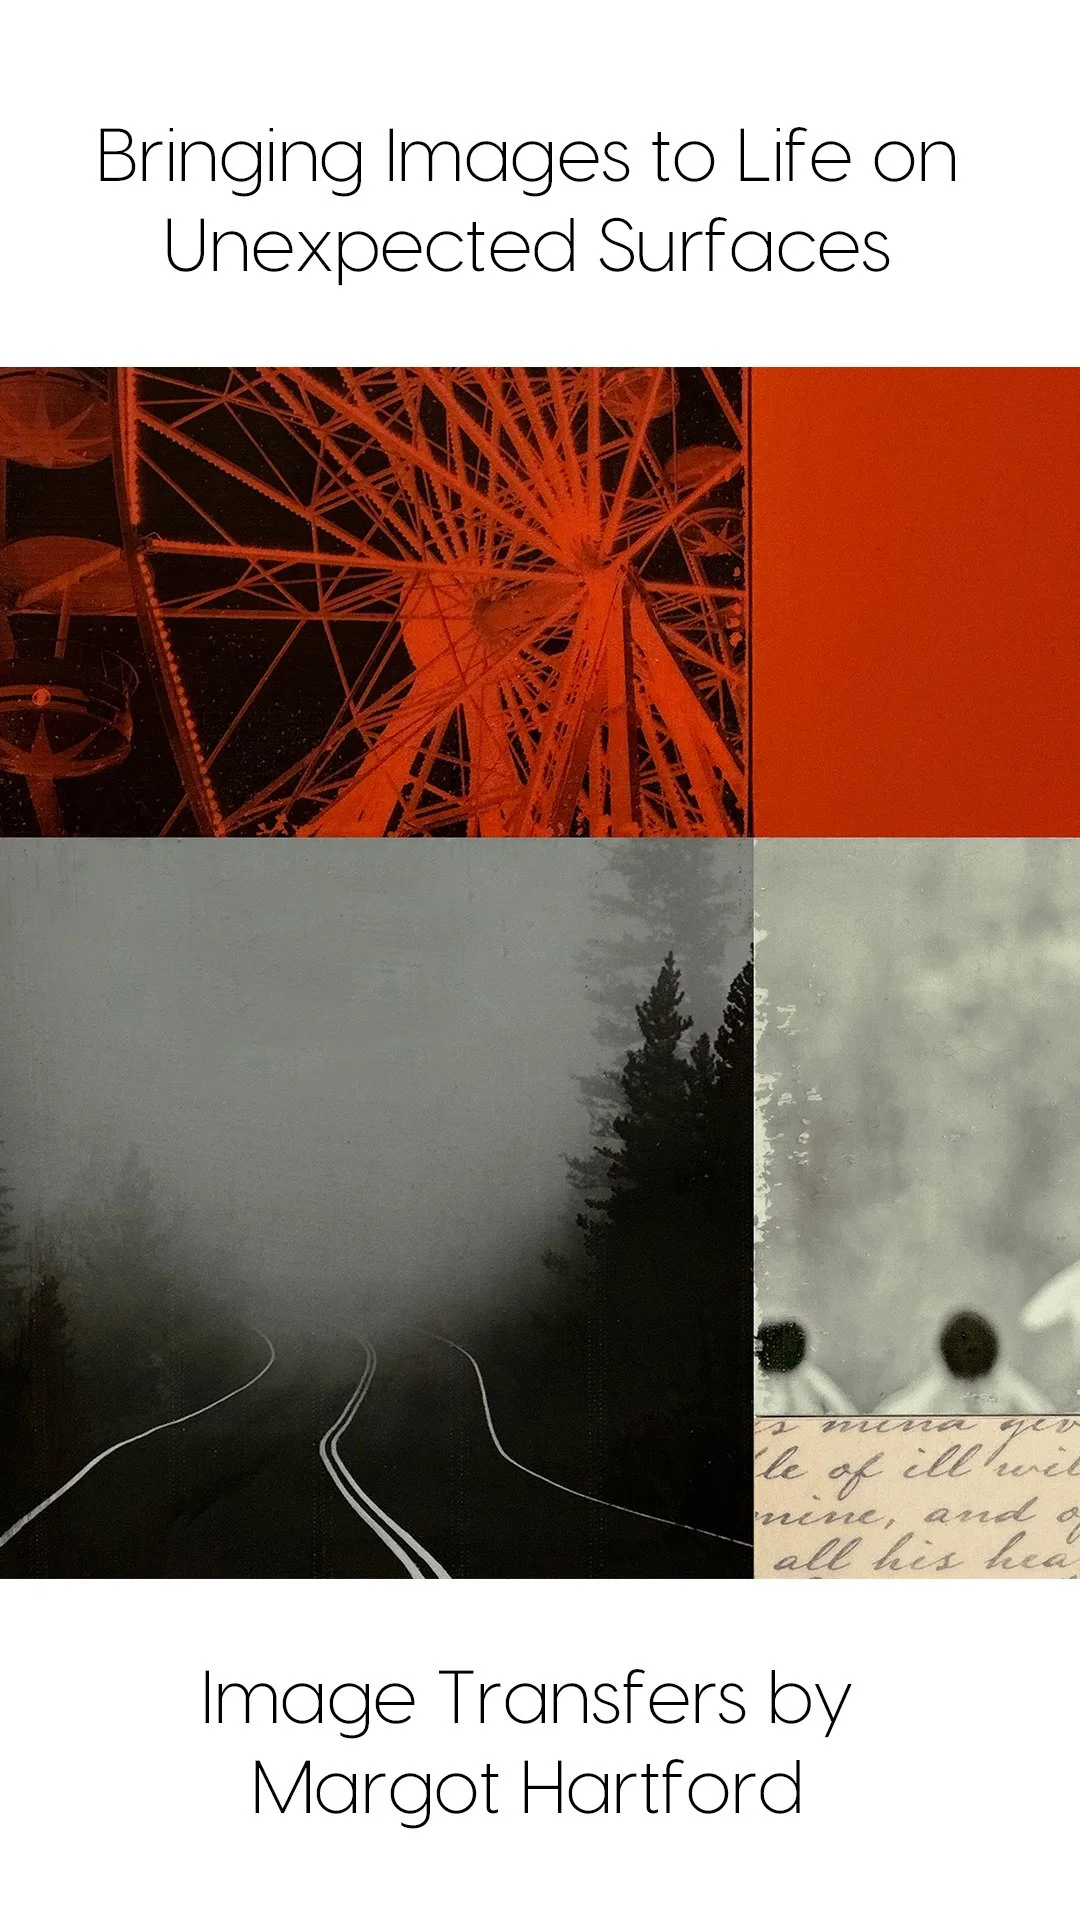
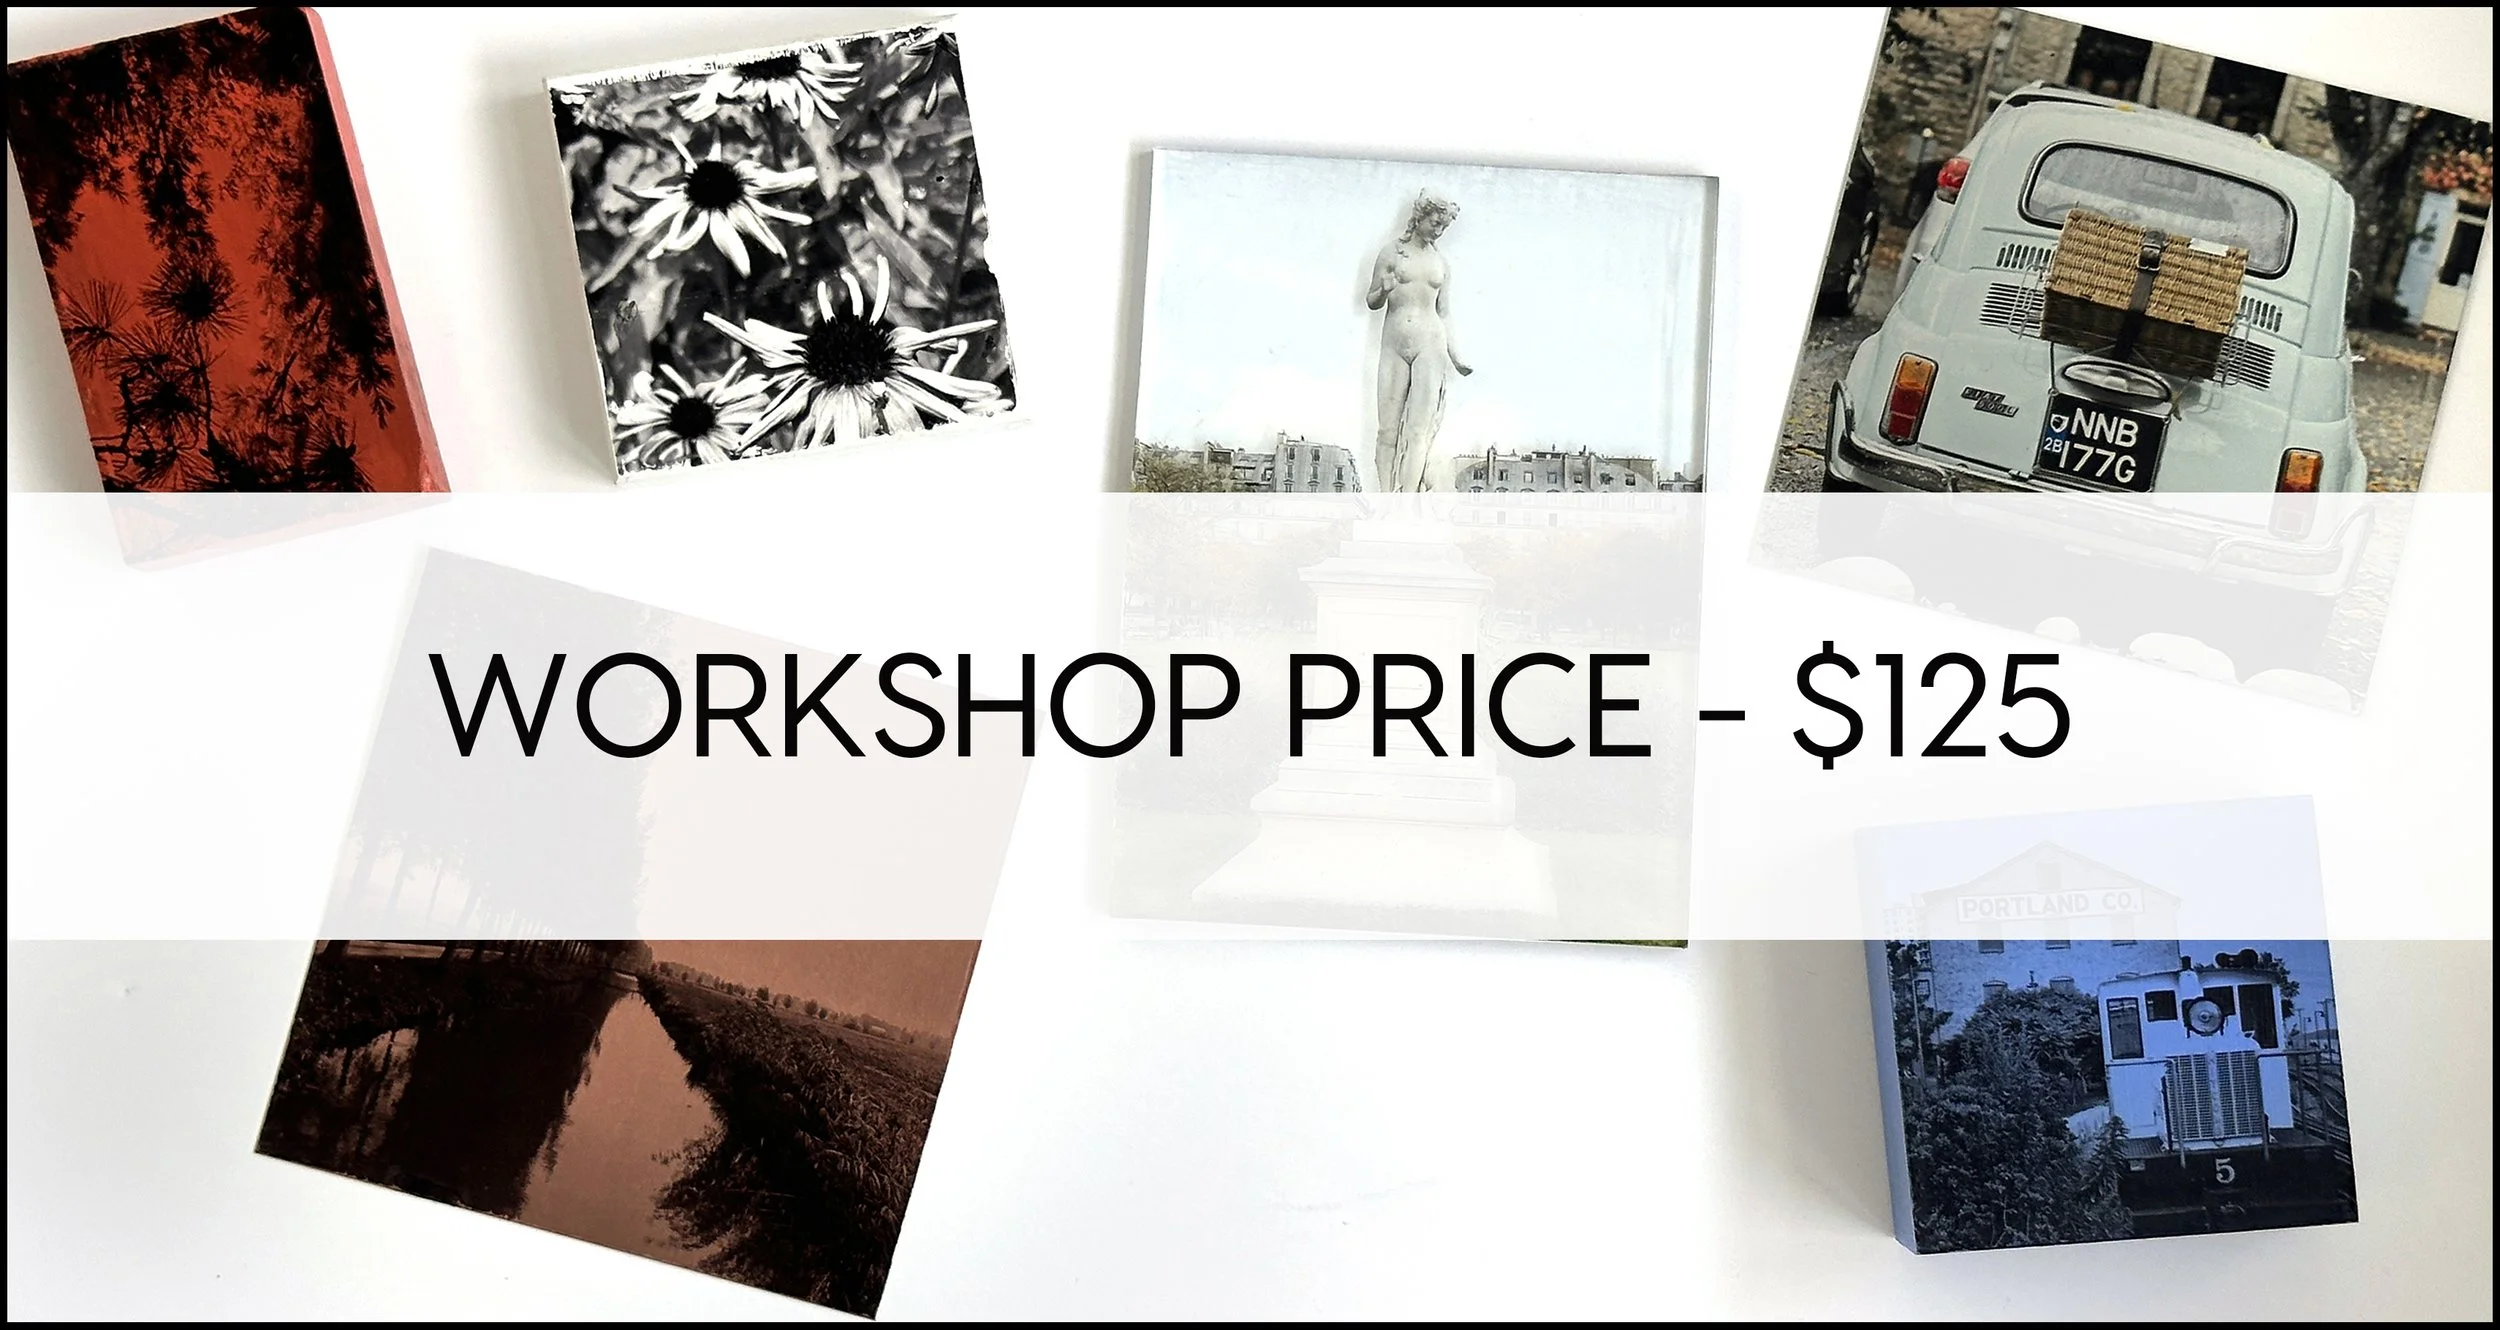
IMAGE TRANSFER ONLINE WORKSHOP
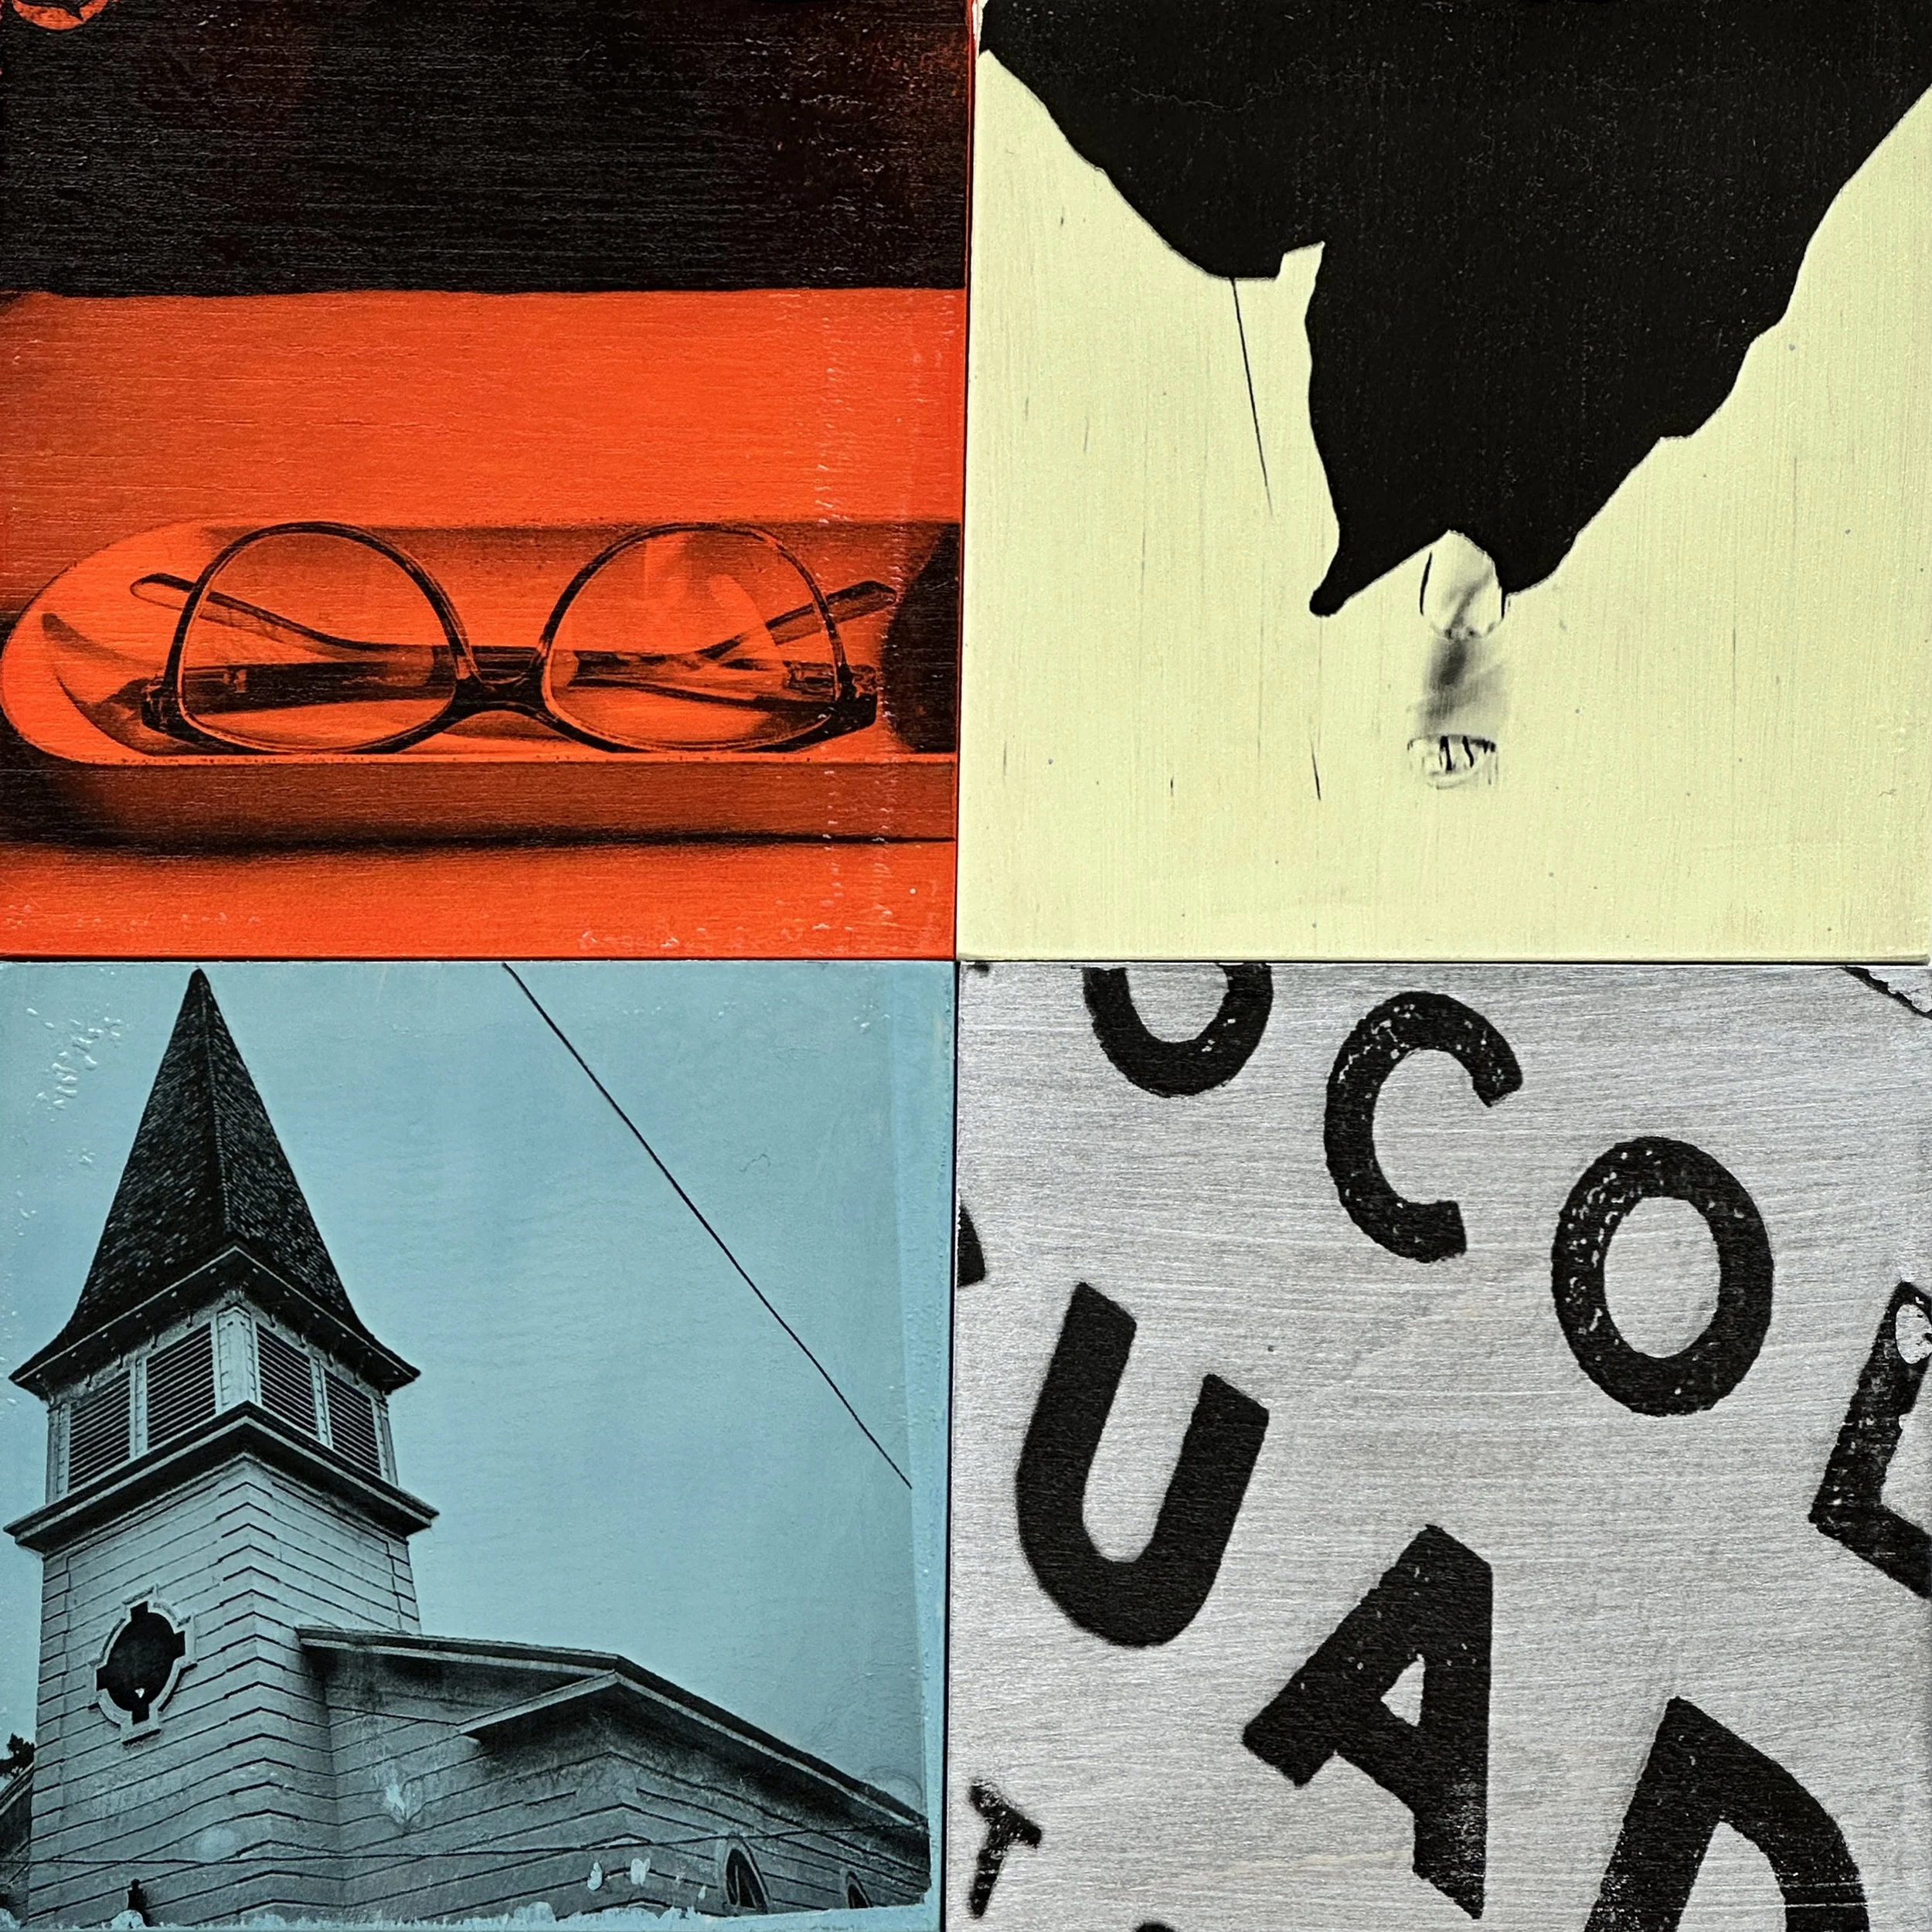
IMAGE TRANSFER WORKSHOP: Image transfers allow you to use your digital files—photographs, graphics, or text—and transfer them onto a variety of surfaces. Using a specially prepared film printed through your inkjet printer and a transfer paste, you can apply your image to paper, wood, metal, fabric, and more. The process opens up exciting creative possibilities beyond traditional printing.
The workshop is edited, uploaded and ready to go. It is a self-directed, easy to follow course, and you will have a lifetime access.
In this class, we will:
Discuss all required materials and where to source them
We will look at inkjet printers and some options you have
Discuss how to prep your digital files and select your printer settings
Mix the transfer paste and understand how consistency affects results
Examine pastes that will work, as an alternative to purchasing a concentrated paste from one of two U.S. suppliers
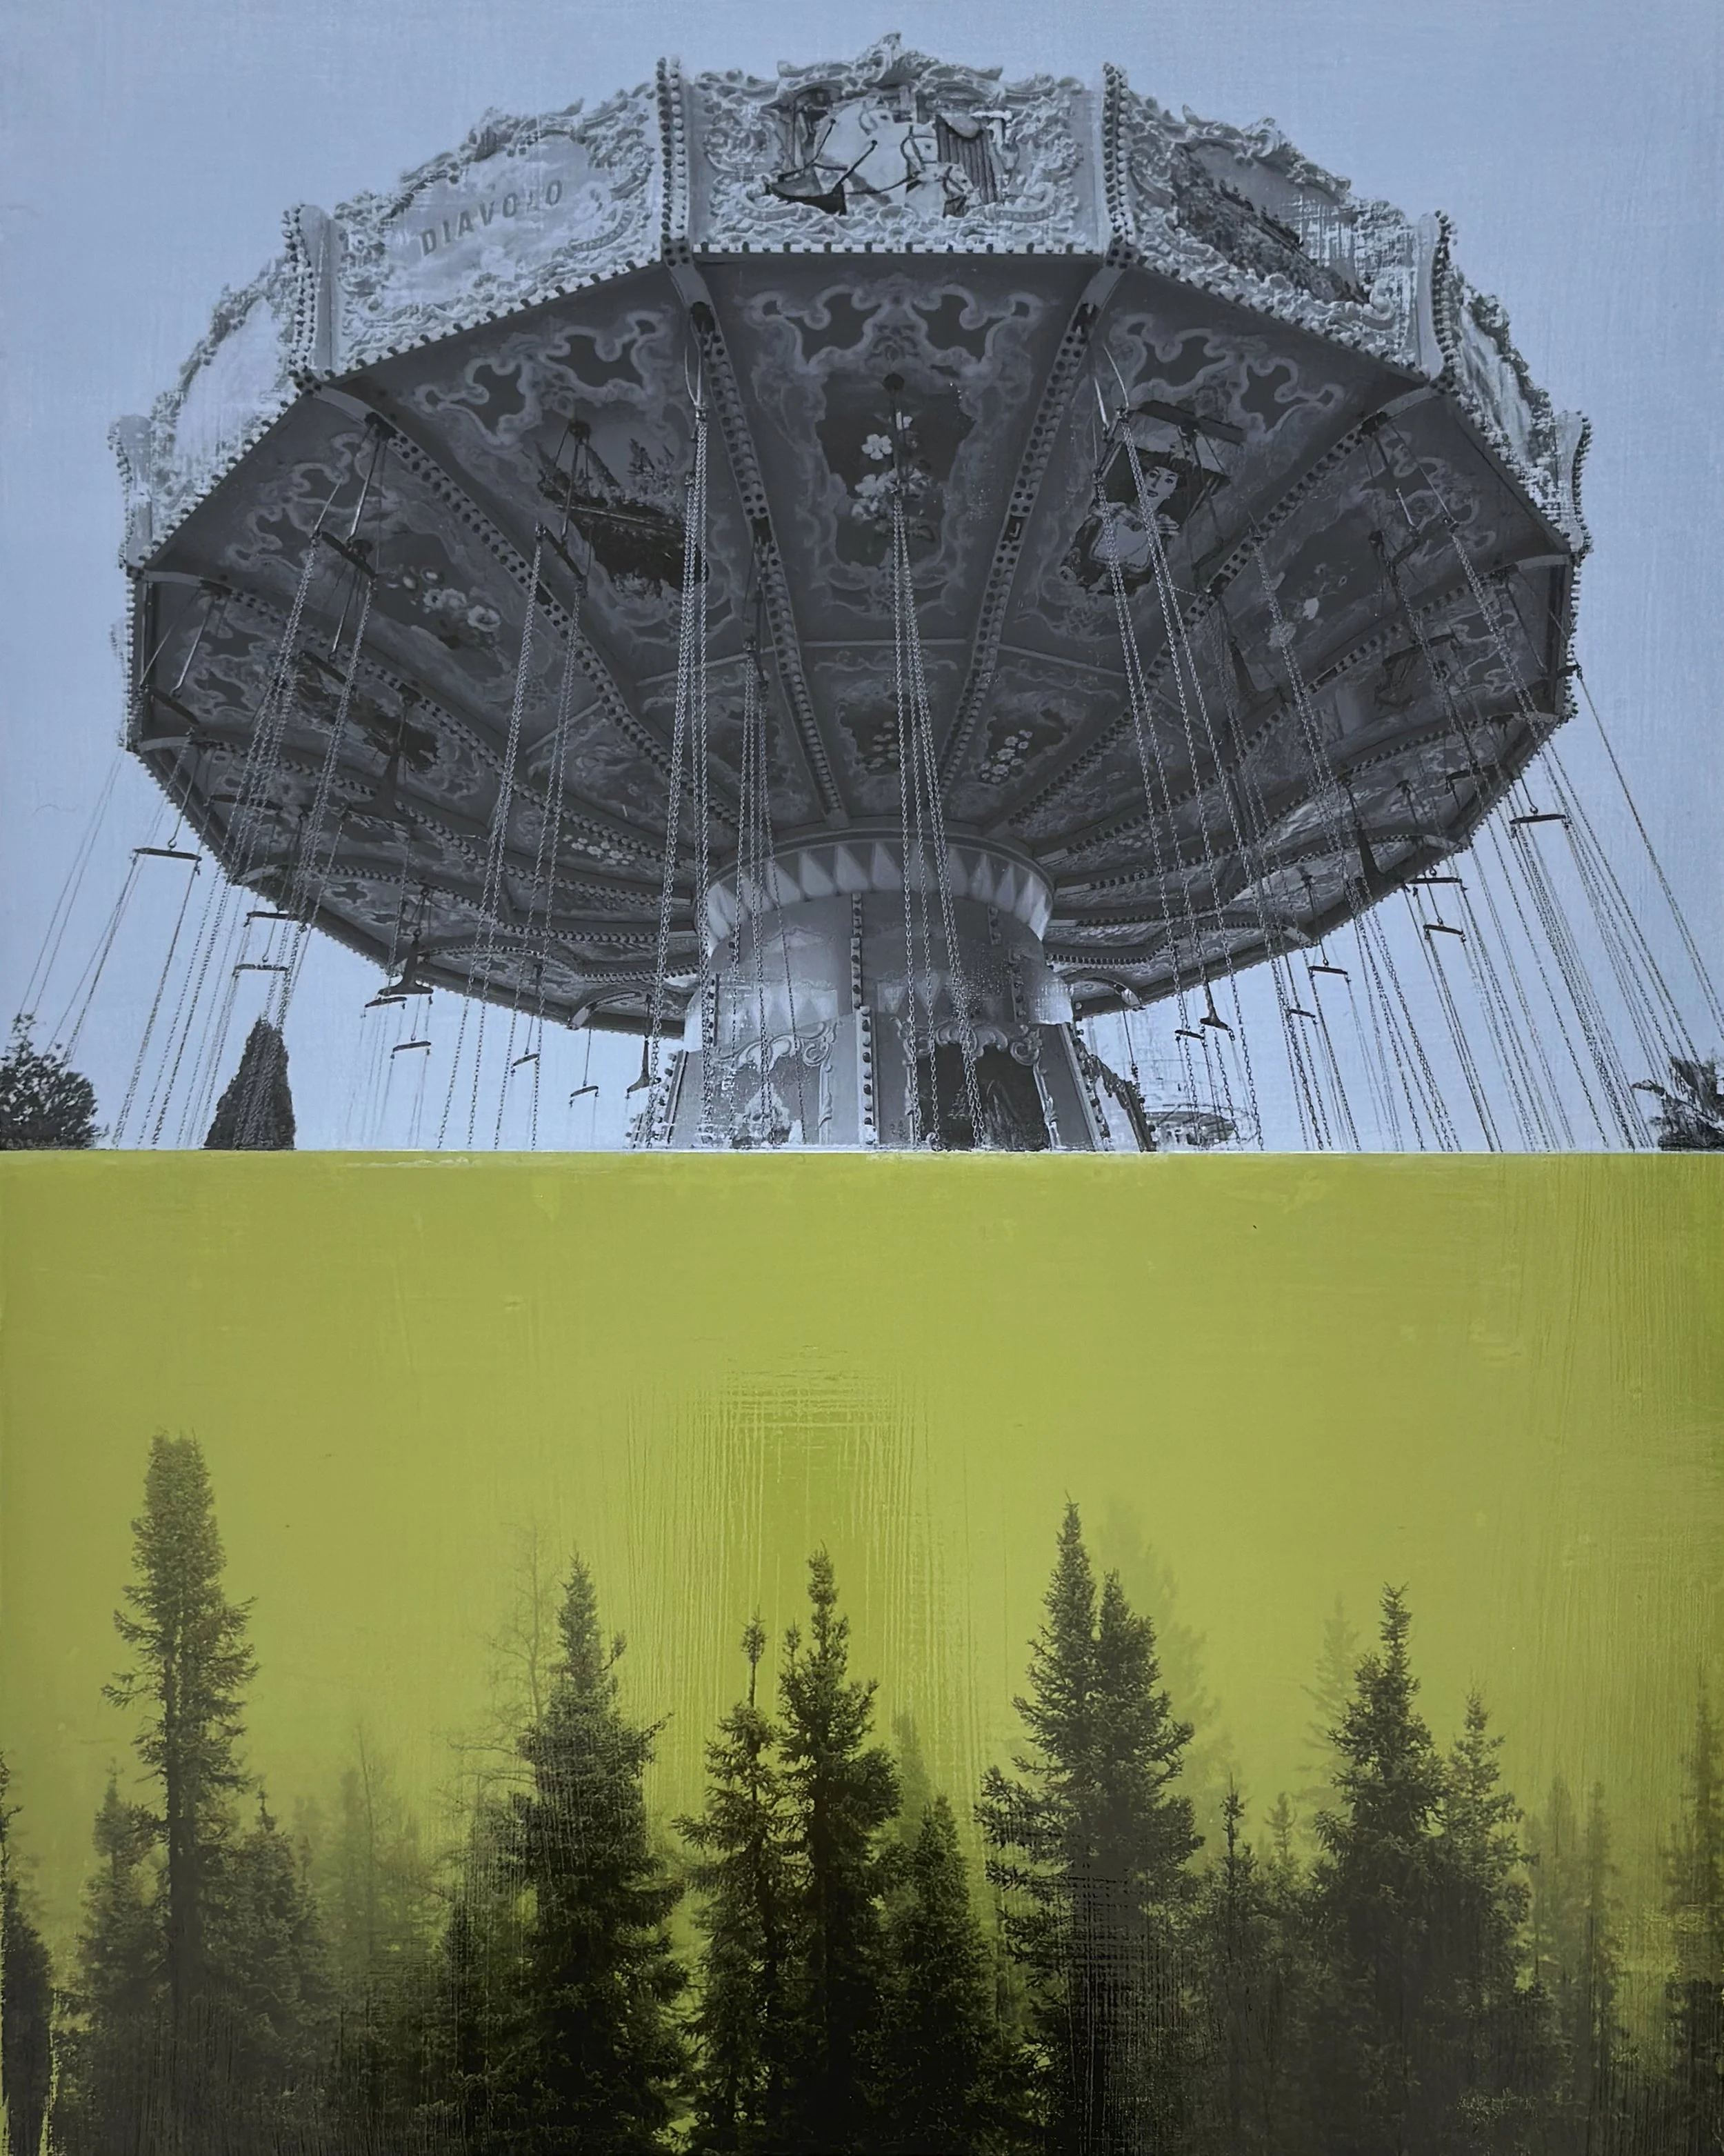
Explore the different surfaces you can transfer onto
Varnishes and finishes
This is the online workshop I wish had existed when I was starting out.
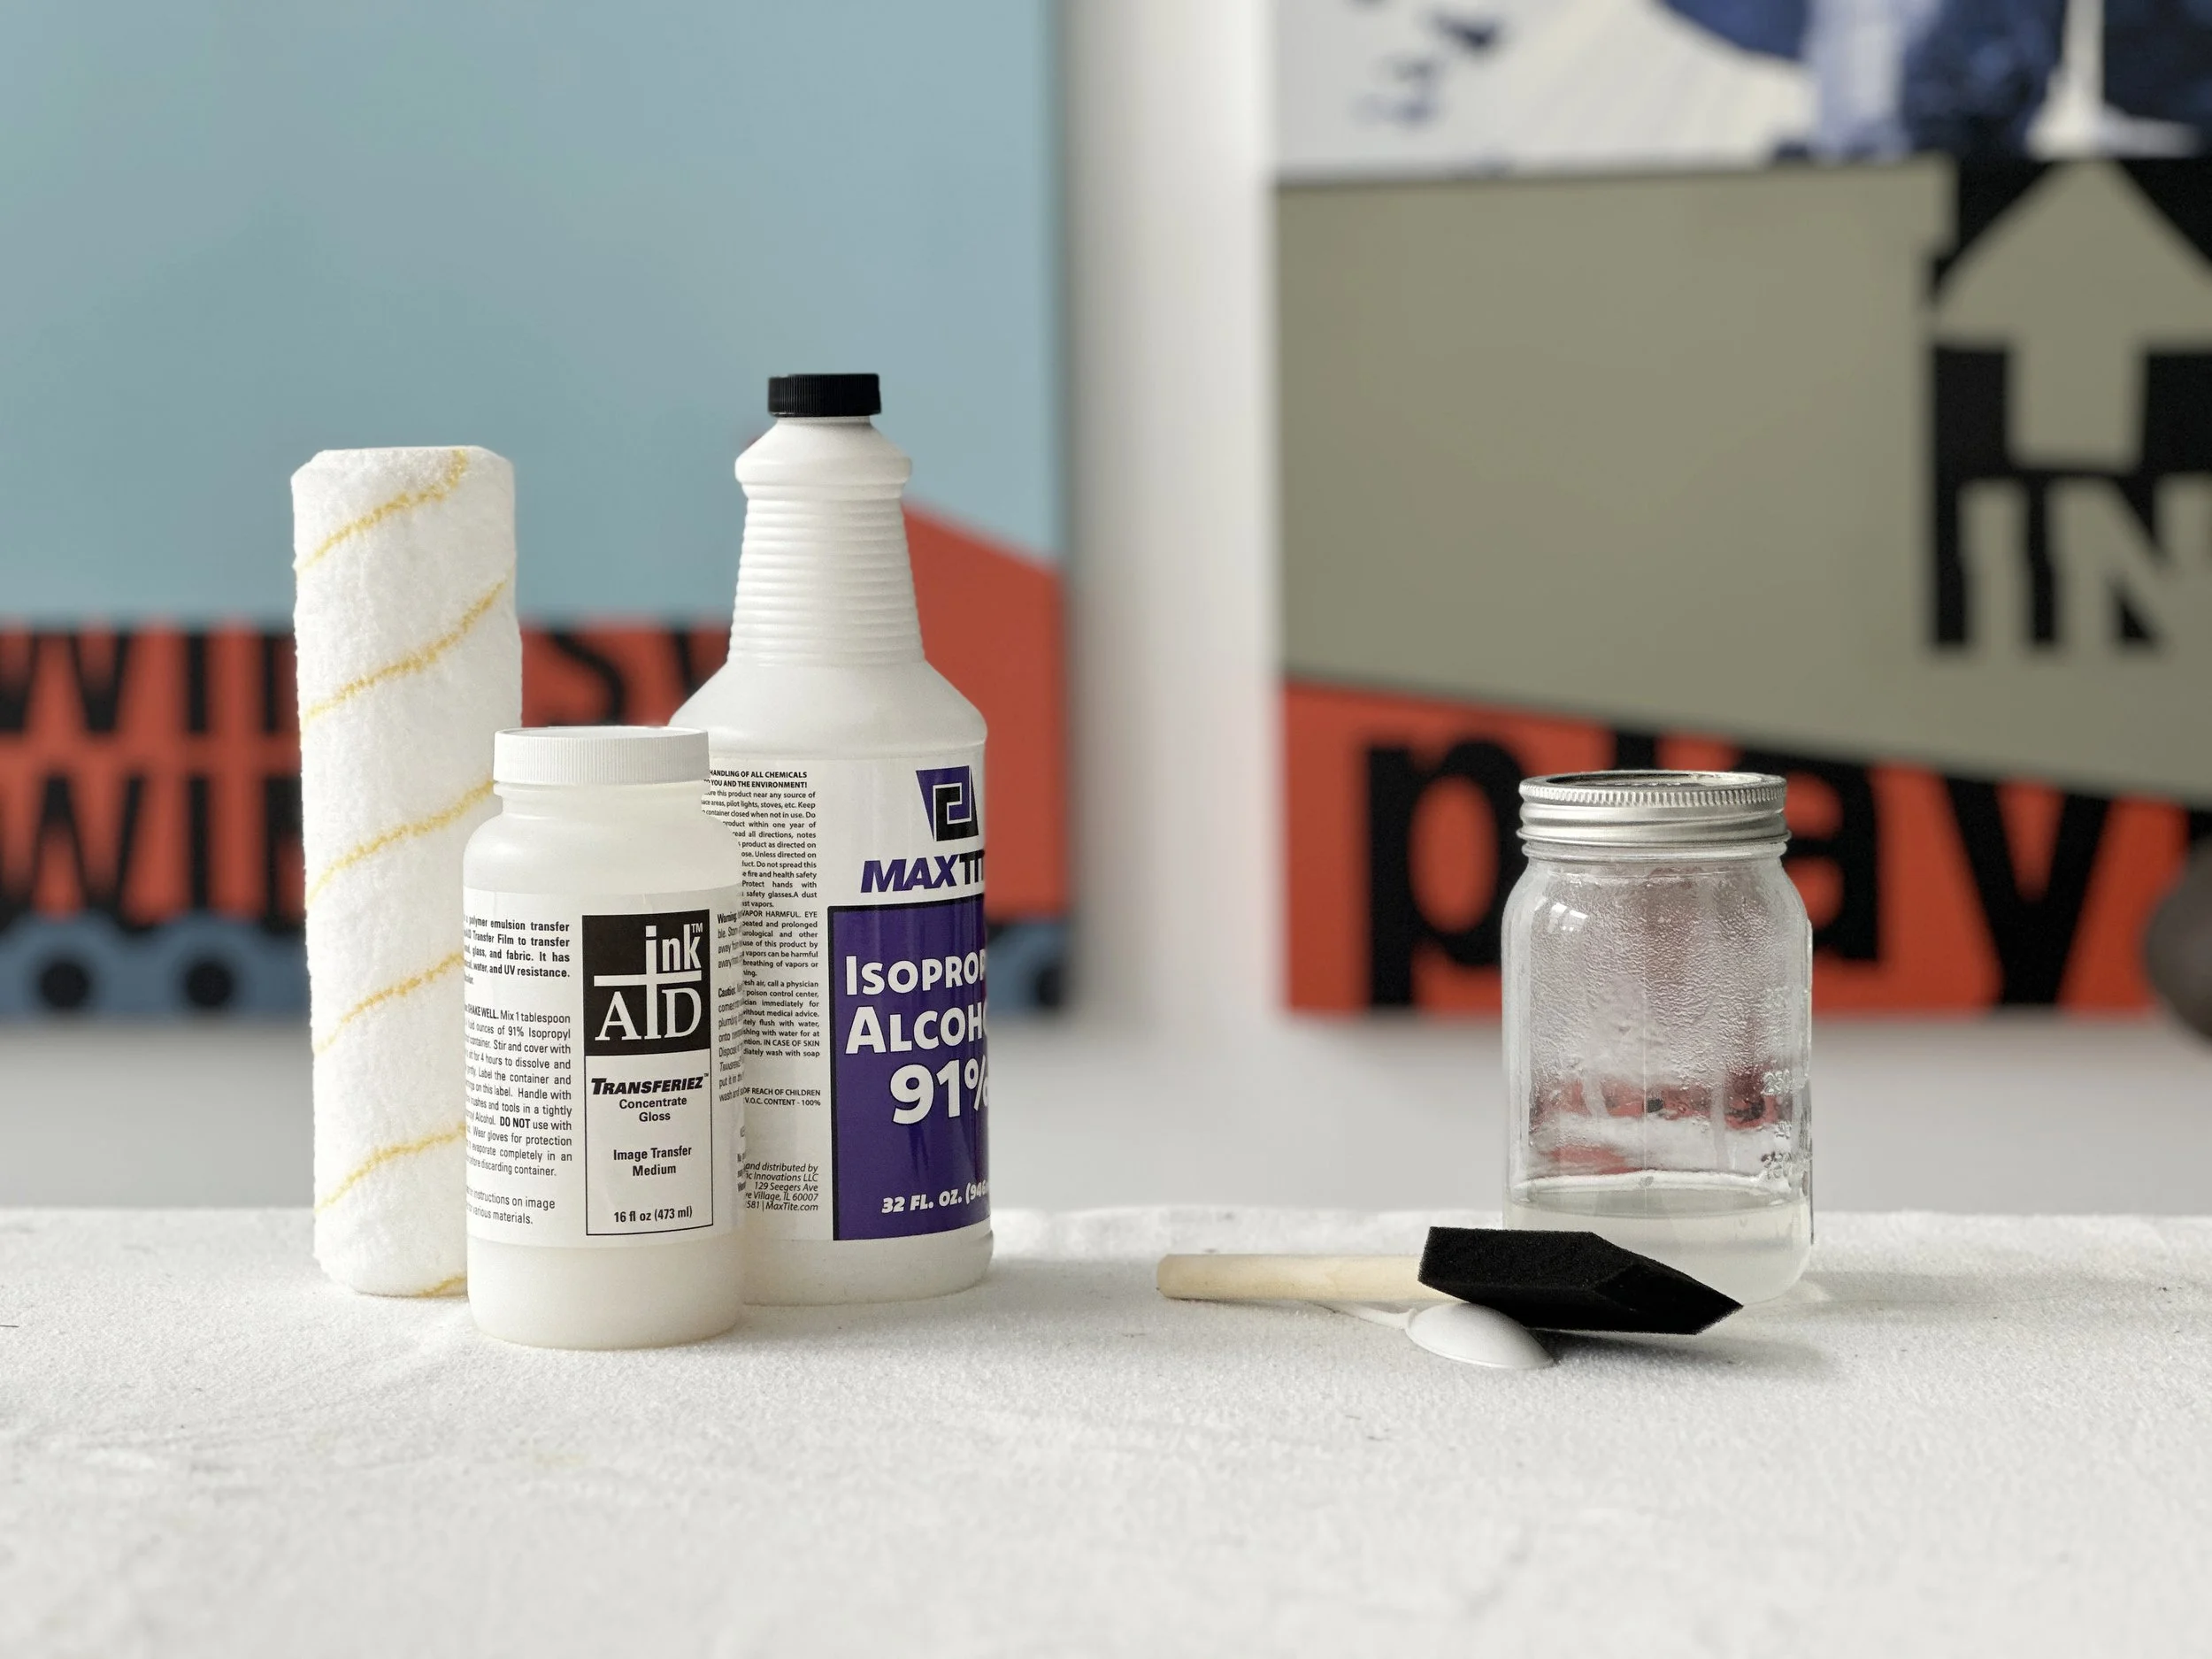
WHAT YOU WILL NEED - THE TRANSFER FILM: In order to do this process you will need the transfer film, purchased from either InkAid or Dass Art. Before you commit to this online class please find out if one of the suppliers will deliver to your region. You can use a variety of pastes, but you MUST purchase their transfer film for the process to work.
WHAT YOU WILL NEED - AN INKJET PRINTER: In order to do this process you will need access to an inkjet printer. Ideally, you will use an inkjet printer that carries "pigment inks". You can also use an inkjet printer that uses "dye-based inks", but the results may vary. Before you commit to this online class please make sure you have access to an inkjet printer that will work for you.
Frequently Asked Questions
-
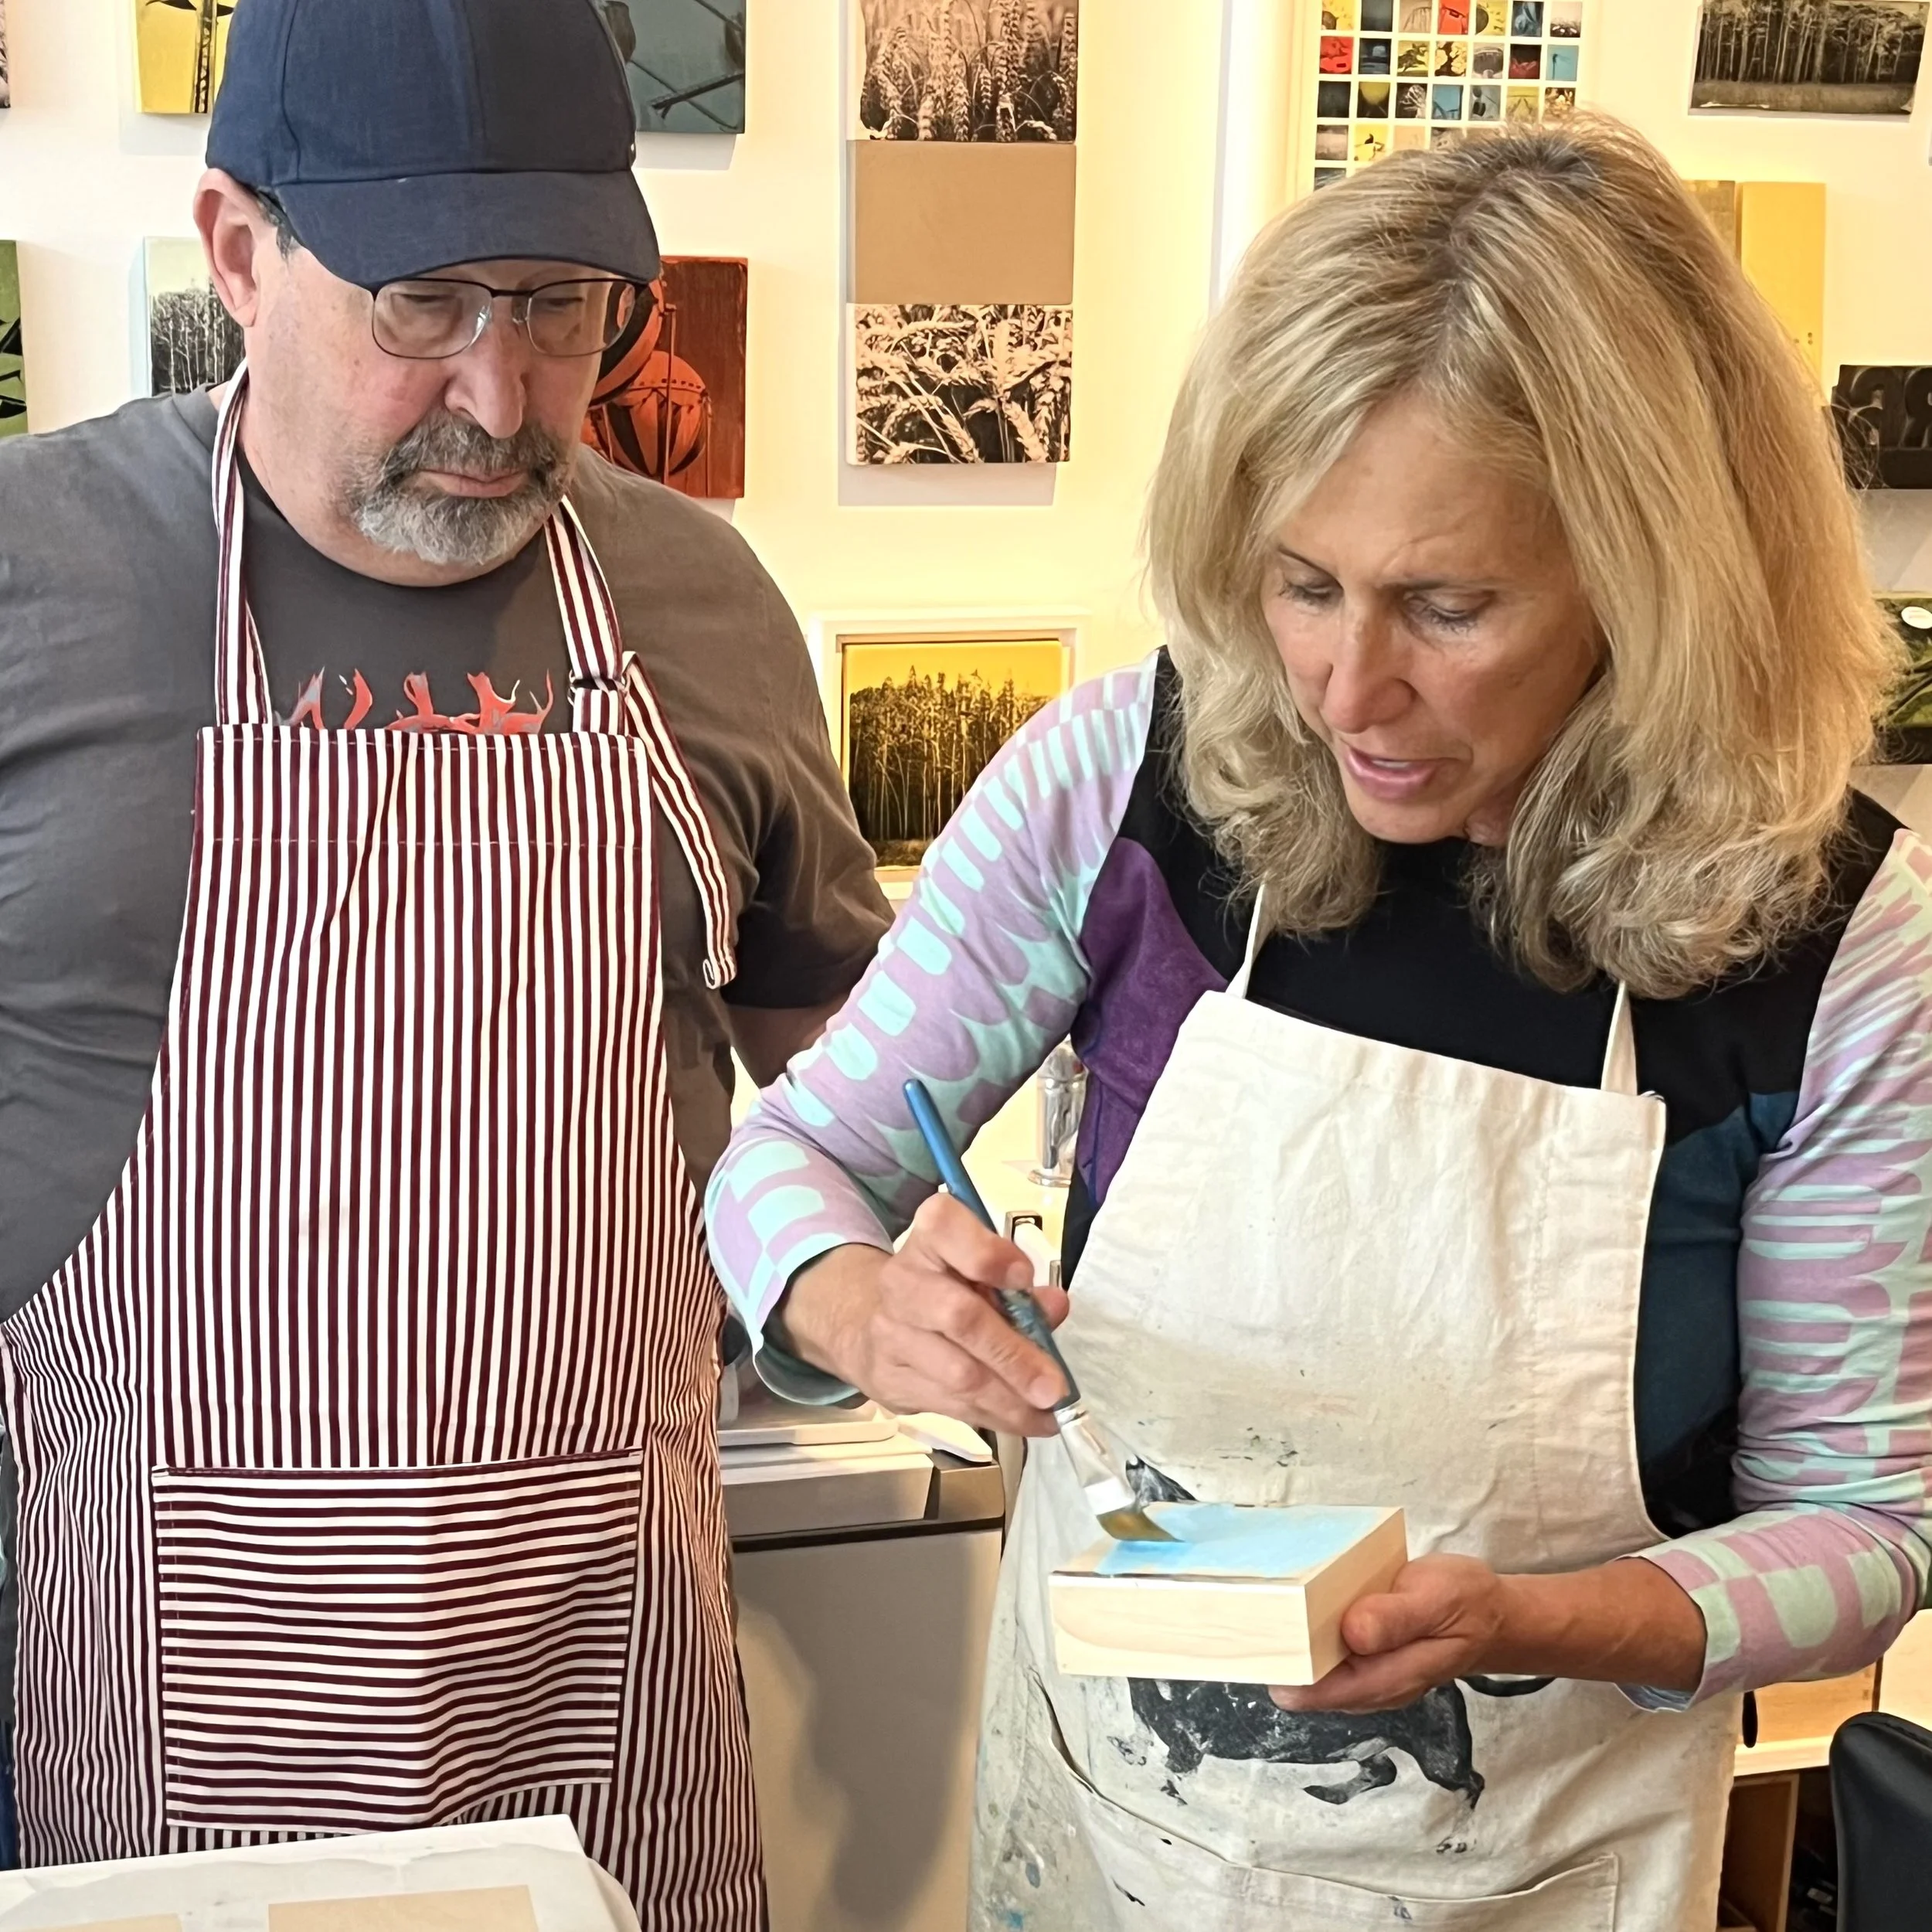
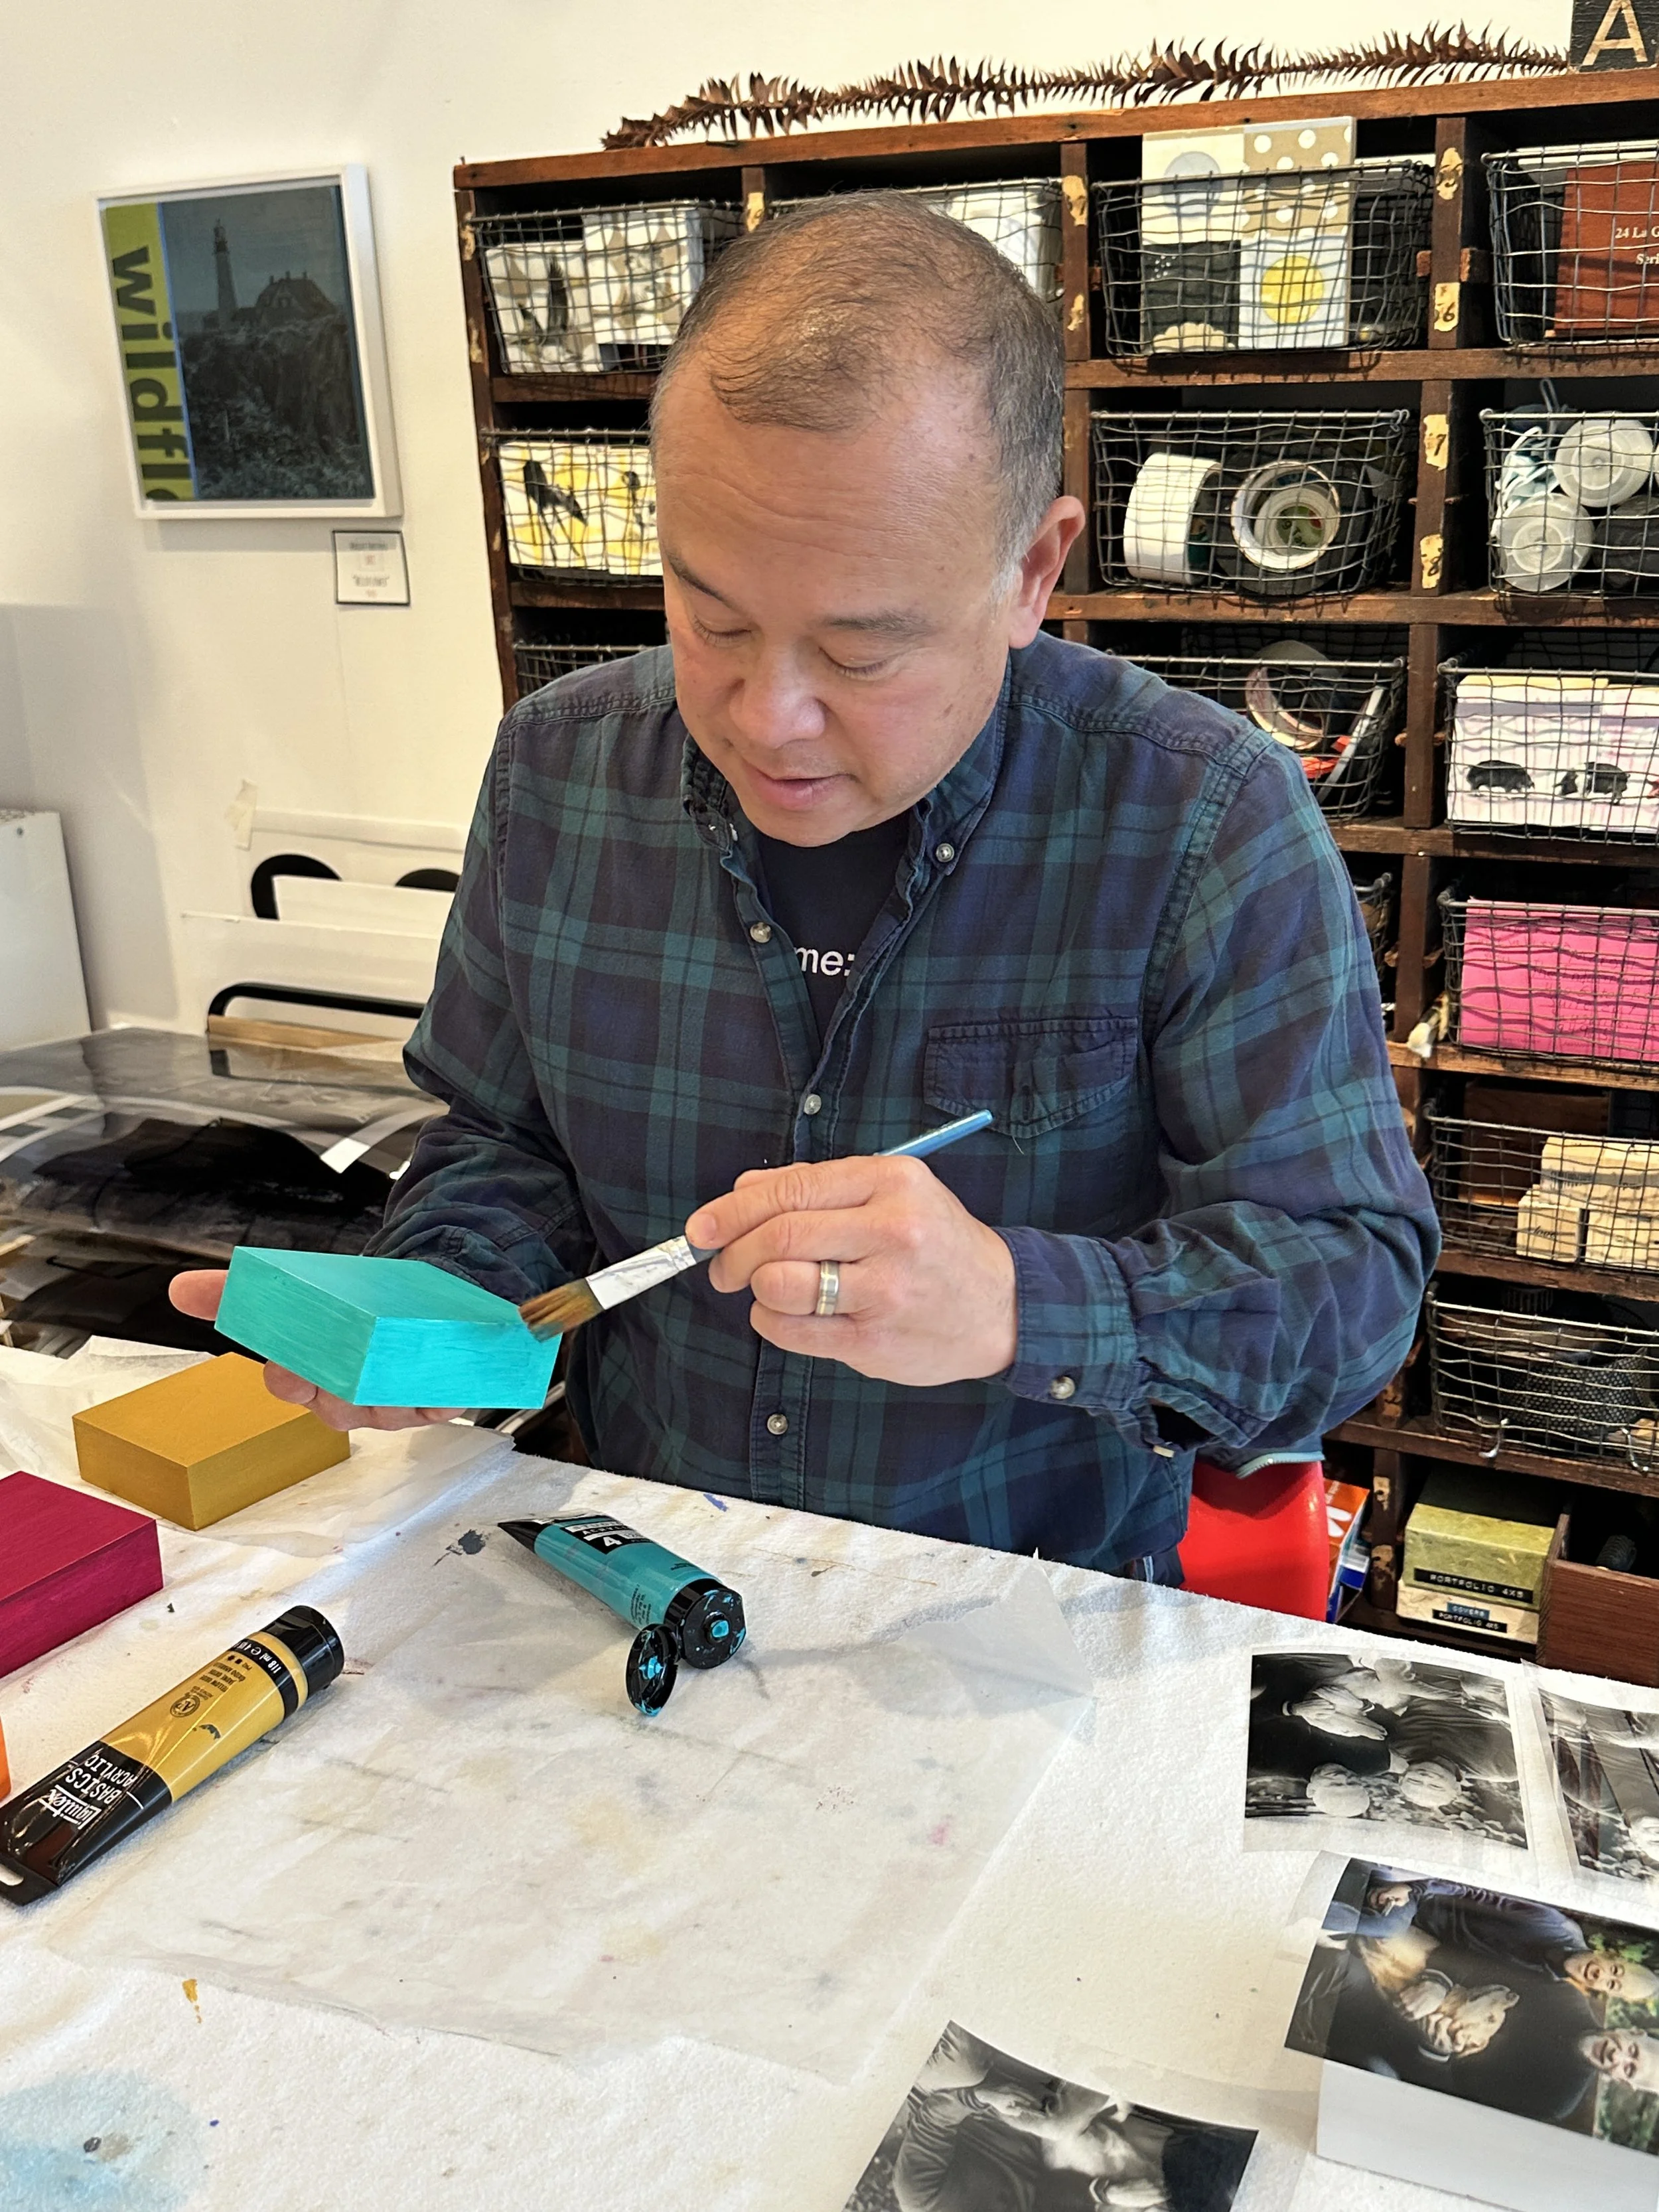
There are specialized materials you will need to have to do this process successfully. It is mainly three things – the printer, the film and a paste.
-
You will need access to an inkjet printer. A regular dye-based ink inkjet printer will work but using a printer that takes “pigment inks” will give you better results. If you don’t own one of these printers, you may find a custom photo lab that can do the printing for you.
-
The transfer film will need to be purchased from one of 2 vendors in the United States, Ink Aid: https://inkaid1.com or Dass Art: https://dassart.com. Both companies sell the same film; compare products and prices to decide which supplier to use. InkAid offers a starter kit (6 sheets of film and 4oz of concentrated paste) for $18. The standard price per 8.5”by11” transfer film is about $1.40 per sheet.
*** The companies that supply the film will ship to anywhere the U.S. Postal Service delivers. For international orders, find out if one of the suppliers will deliver to your area and review the associated shipping costs.
-
A paste is needed that will lift the image from the film to the surface you are working on. You can purchase a concentrate from either of the above-mentioned suppliers (you will need 91% isopropyl alcohol to dilute the concentrate) or you can try other pastes (such as urethane, varnish, matte medium, and so on).
-
Photo editing skills are useful as you will need to be able to upload your images and flip the image horizontally to transfer them right side up.
-
The course is $140.
-
I do not offer a refund, so please do your homework before purchasing.
-
You’ll have access to all the lessons as long as I’m an artist. Hopefully a very long time!
-
No prior experience is necessary. The course is designed for both beginners and experienced artists.
-
There are 29 modules, the first set describes the materials, the technique and what you need to know to do the process, and the second half explores several surfaces you can transfer onto, including paper, plexiglass, fabric and wood.
The average length of each module is 5 minutes. The entire class is over 2 hours.
-
There will be a complete materials list, but you must have an inkjet printer, the transfer film and a paste. Other materials include brushes, tape, spoon, a paint roller, and a jar (for the paste).
You will also be selecting a surface to transfer onto – paper, wood, canvas, plexiglass, aluminum, fabric, and so on.
-
You do not, the course can be accessed on any internet browser.
-
Yes, you will need internet access to complete the course.
-
The course is pre-recorded and is hosted online on the Thinkific course platform. Those who sign up will get an individual private account and password to access the course.
There are 26 modules. The average lesson time is 5 minutes. There is a pdf following each lesson which provides a summary, a materials list and “things to remember”.
There will be a complete materials list, with links to suppliers.
-
If you are new to the process, you will want to view the first section to fully understand the process and the materials involved. The module on the image transfer process, beginning to end, is the most comprehensive look at doing a transfer, so do not miss this one.
After that, you can move around to the subjects and materials that interest you the most. Binge them all at once or revisit a particular lesson over and over - your choice.
-
If you need additional information, you can contact the instructor by email at margot@margothartford.com.